This guide explains how to onboard your Office 365 environment to the HOPLONai Platform. By following these steps, you will securely connect your Office 365 account with HOPLONai. Before you begin, please ensure you meet the prerequisites.
Before starting, confirm you have the following:
Office 365 Global Admin Account:
You must be signed in as a Global Admin account in Office 365.
Learn more about Super Admin roles here:
Office 365 Workspace Admin Help – Global Admins
Azure Cloud Account with Project with Required Permissions
Ensure your Google Cloud account has the Project Creator role.
For more details on creating and managing projects, visit:
Azure Cloud Resource Manager – Creating Apps
Where to Start:
After reaching the Cloud Security activation section on your HOPLONai Platform:
Select Activate:
Click Activate button which is adjacent to “Cloud Security” to begin the process.
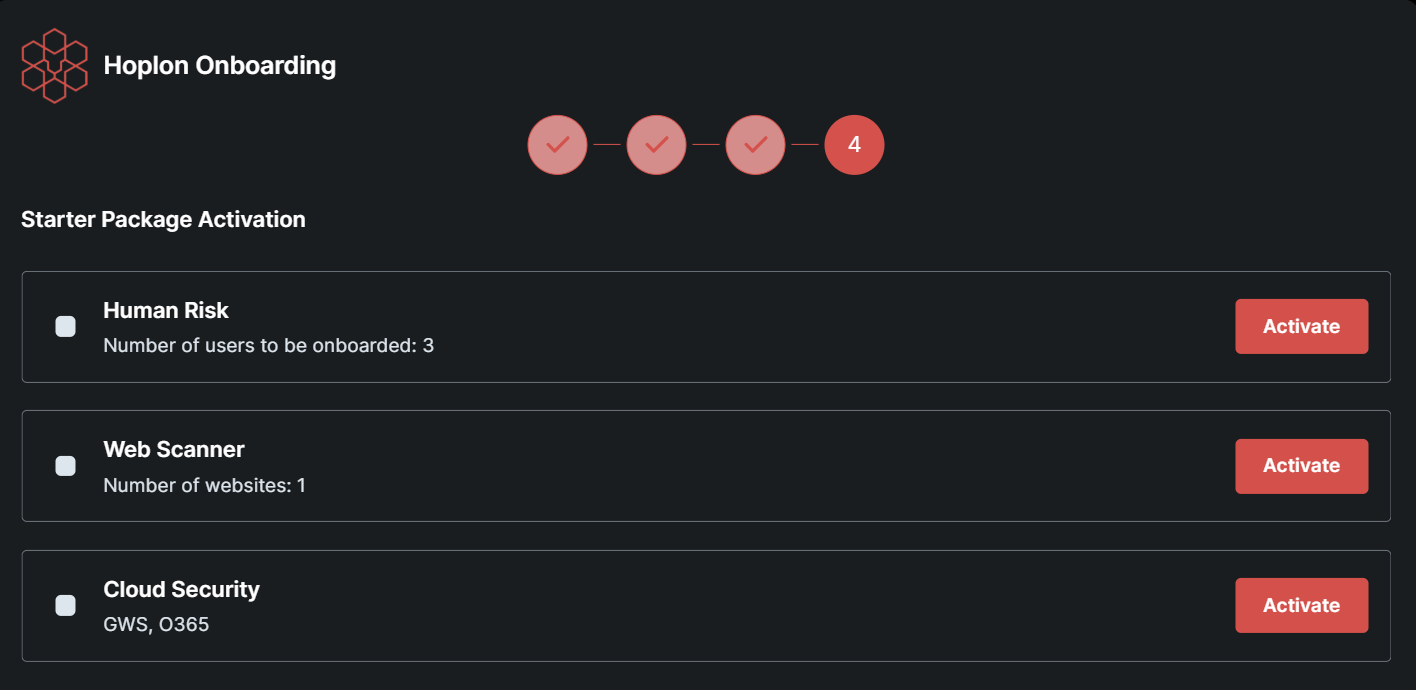
Initiate Activation for Both Platforms:
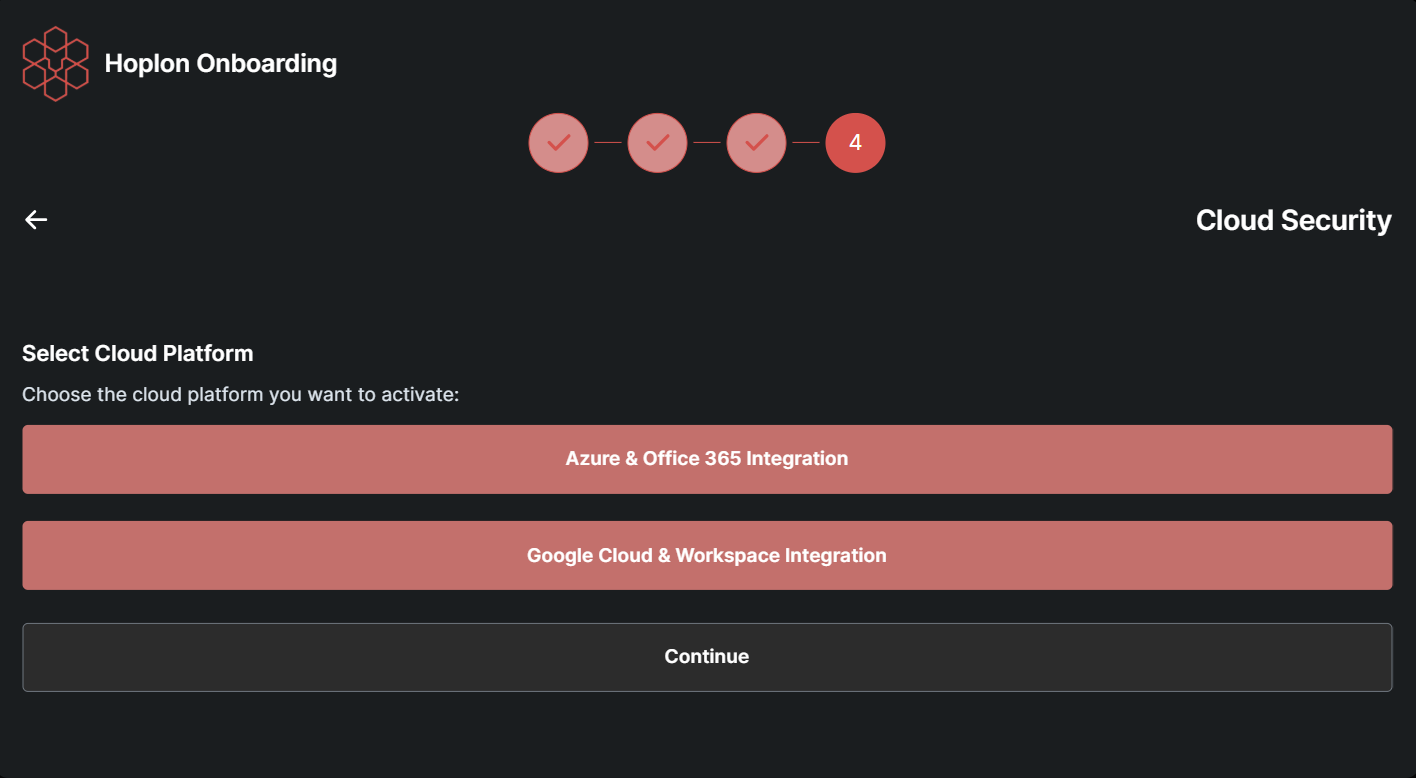
Click on Azure & Office 365 integration.
Verify Prerequisites:
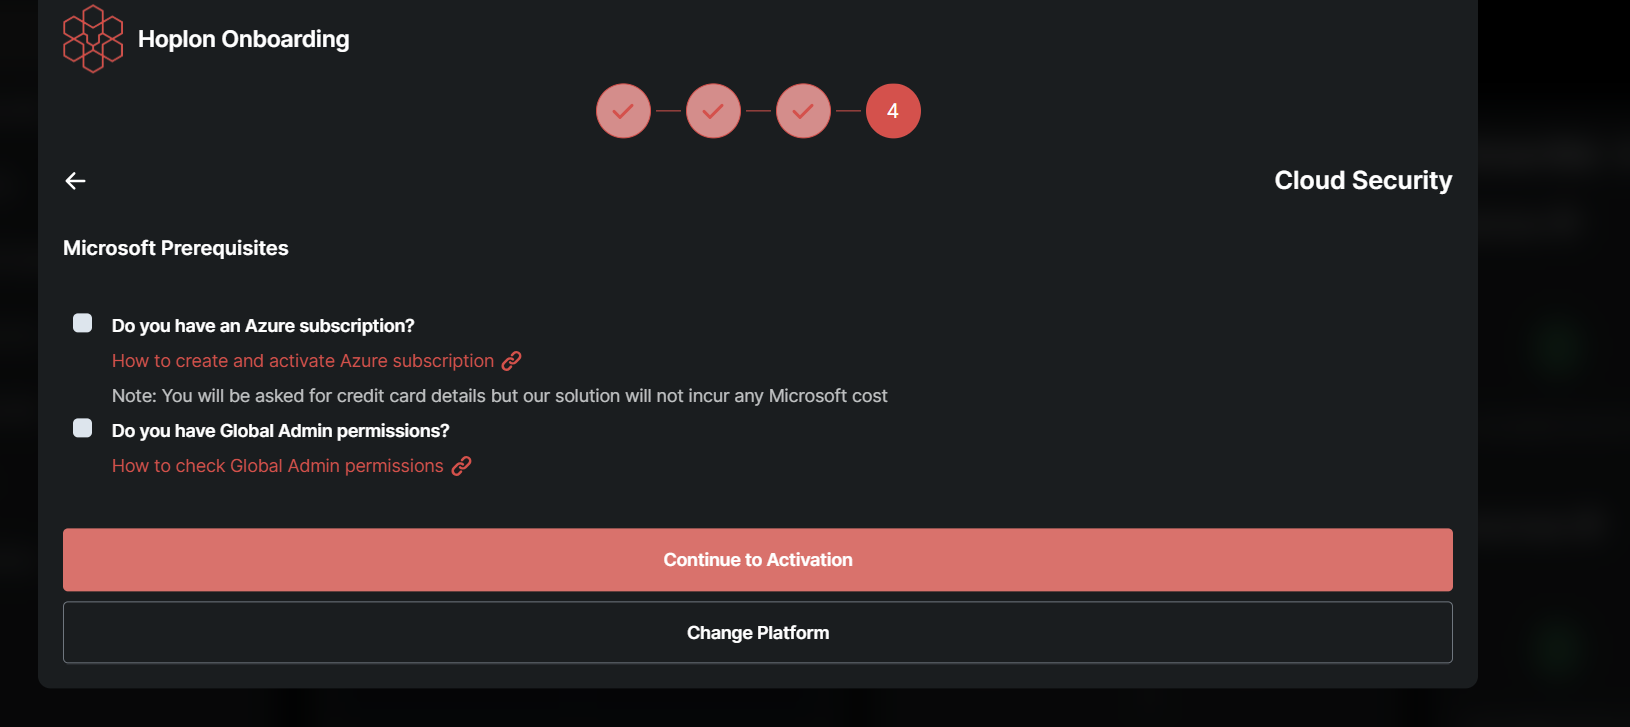
Ensure that all prerequisites (e.g., your Super Admin status and Google Cloud permissions) are complete. Then, click Continue Activation.
Download the Script:
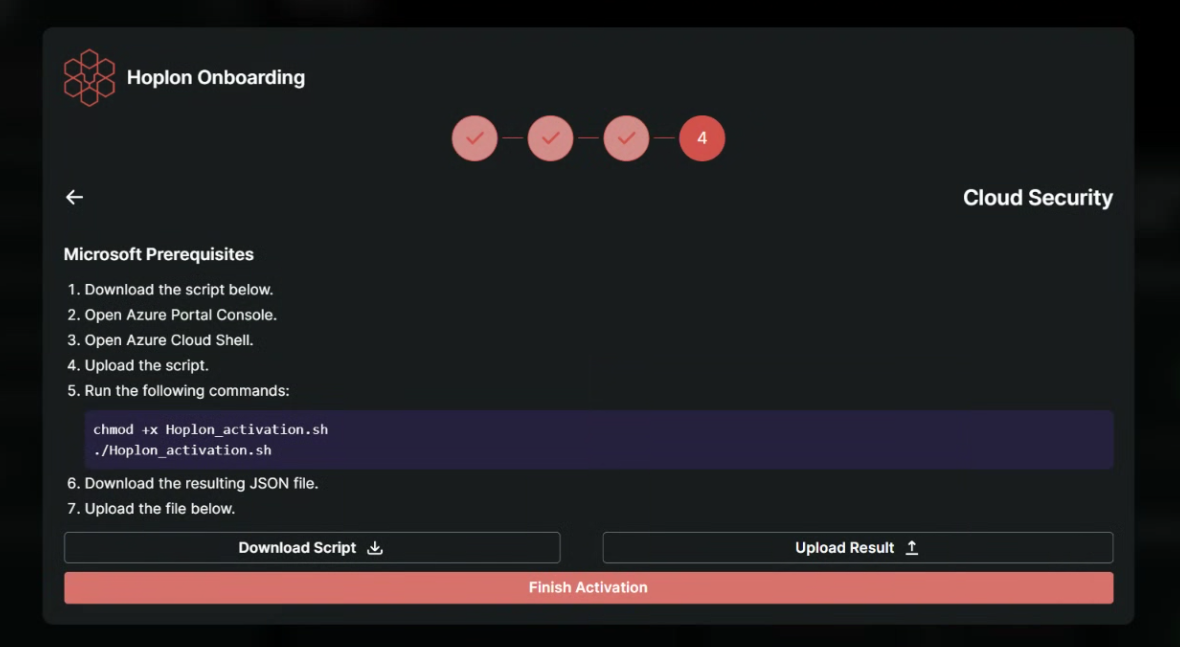
Once the activation process continues, click Download Script to save the setup file to your computer.
Prepare to Run the Script:
Open the downloaded script and run it using the provided command. (Be sure to replace the filename in the command if necessary, according to the actual script name you downloaded.)
Access the Azure Portal:
Open your web browser and navigate to the Azure Portal.
Sign in:
Use your Azure Global Admin credentials (or appropriate credentials) to log in. This step ensures you have access to your Azure Active Directory for managing app registrations and permissions.
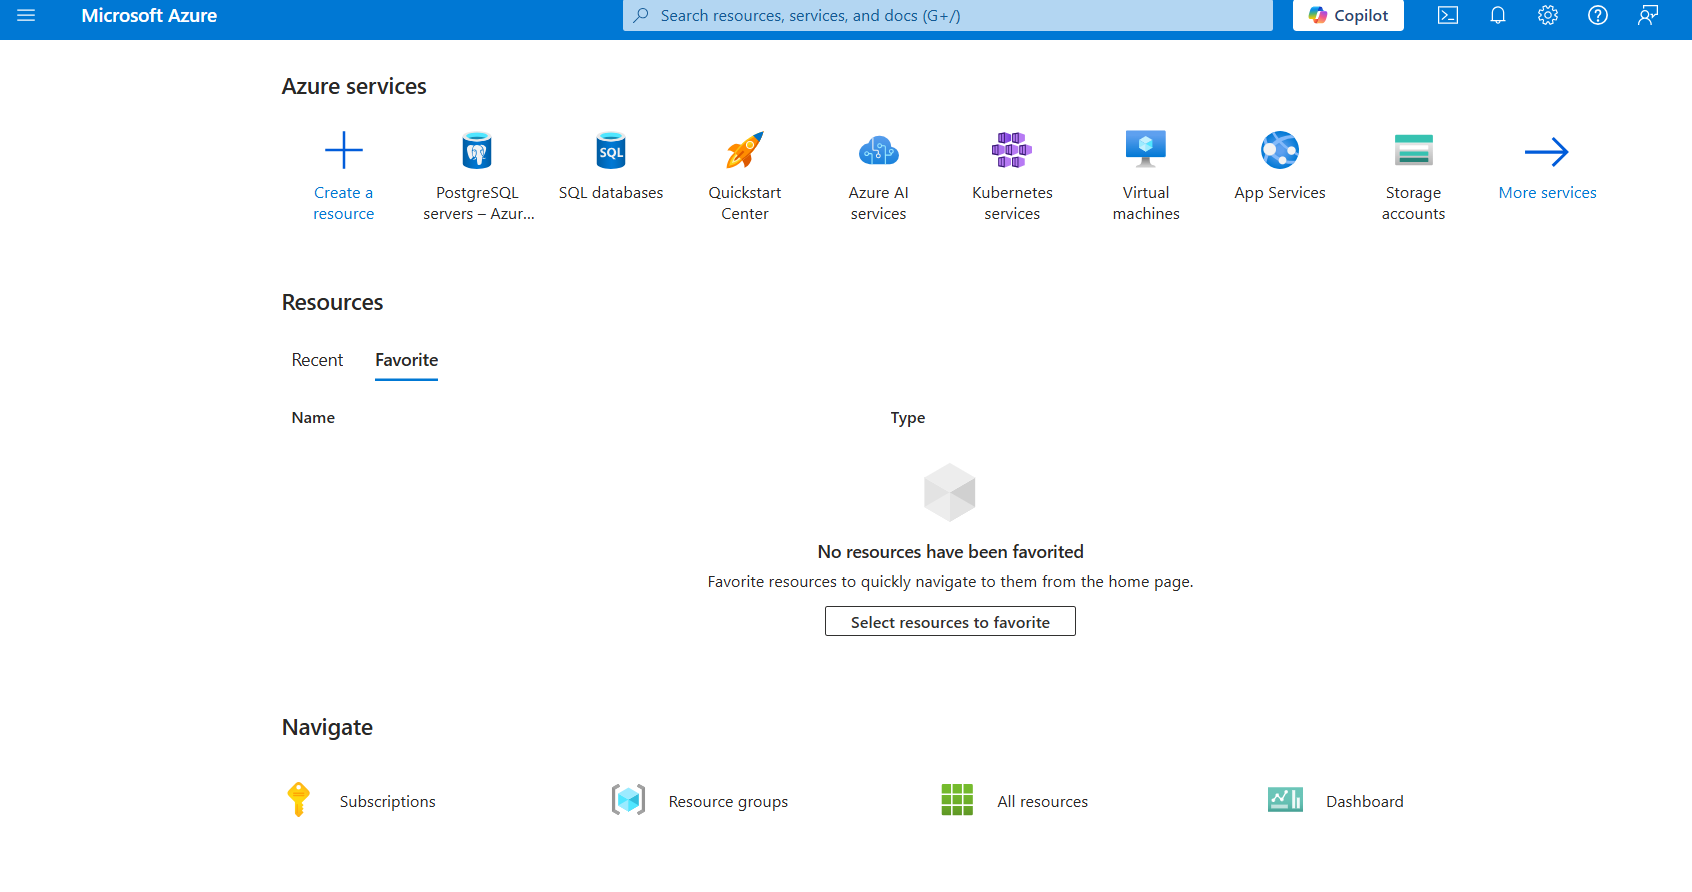

Access Cloud Shell from the Azure Portal:
Within the Azure Portal, click the Cloud Shell icon (usually located in the top navigation bar).
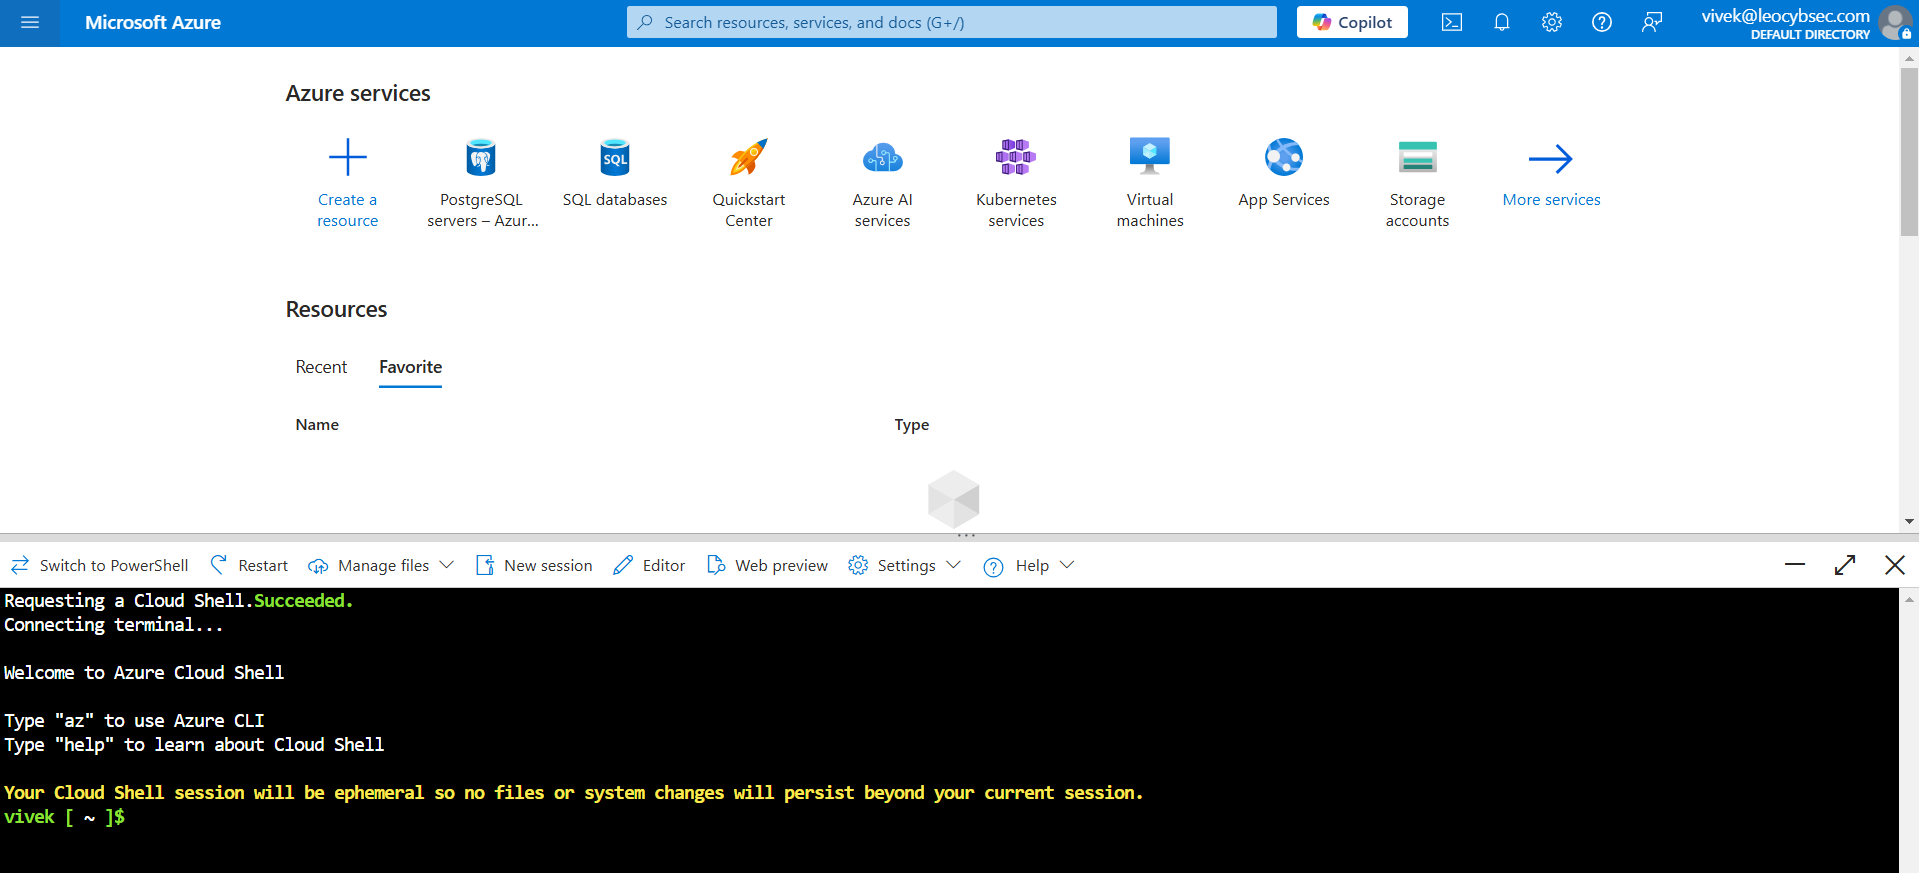
Azure Shell Environment:
This will launch an interactive shell directly in your Azure portal.
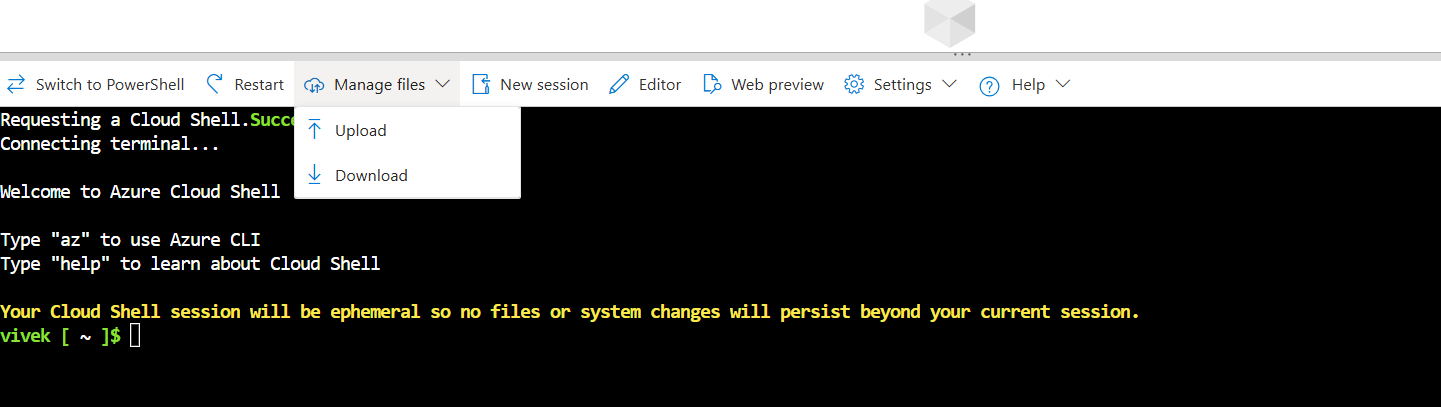
How to Upload:
In the Cloud Shell, click on the Manage files dropdown button on the nav bar of the cloud shell window.
What to Do:
Select Upload.
Navigate to and choose the script file you downloaded in Step 1.
Make the Script Executable:
In the Cloud Shell, type the following command and press Enter:
chmod +x leocybsec-azure-org-key-setup-script.shExplanation:
This command changes the file's permissions, telling the system that the file is executable. This step is necessary to run the script.
Execute the Script:
In the Cloud Shell, run the script by typing:
./leocybsec-azure-org-key-setup-script.sh Follow Prompts:
Follow the on-screen instructions. The script will prompt you to enter your account credentials – simply follow the prompts.

Where to Start:
In the Azure Portal, navigate to Azure Active Directory > App Registrations.
What to Do:
Search for the App:
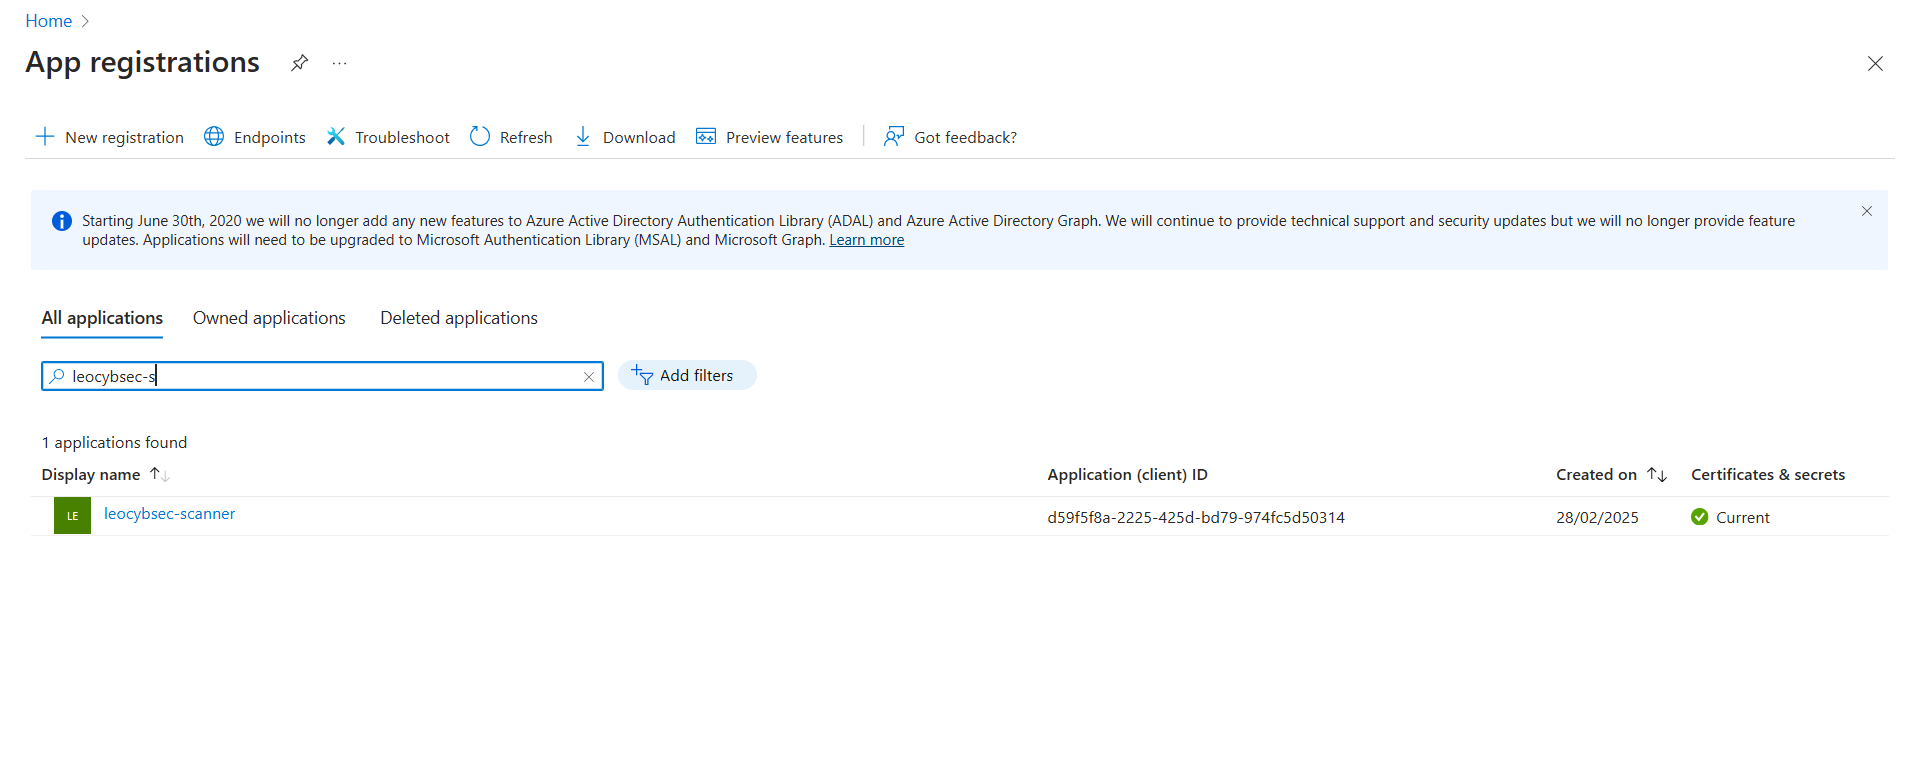
In the search bar under "All applications," type leocybsec-scanner.
Click on the leocybsec-scanner app from the search results.
Review API Permissions:
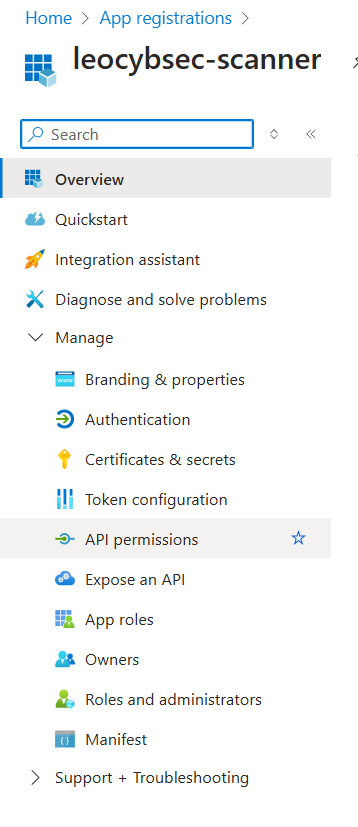
In the app's overview, click on API Permissions from the left-hand menu.
Verify that all required permissions are listed.
Grant Admin Consent:
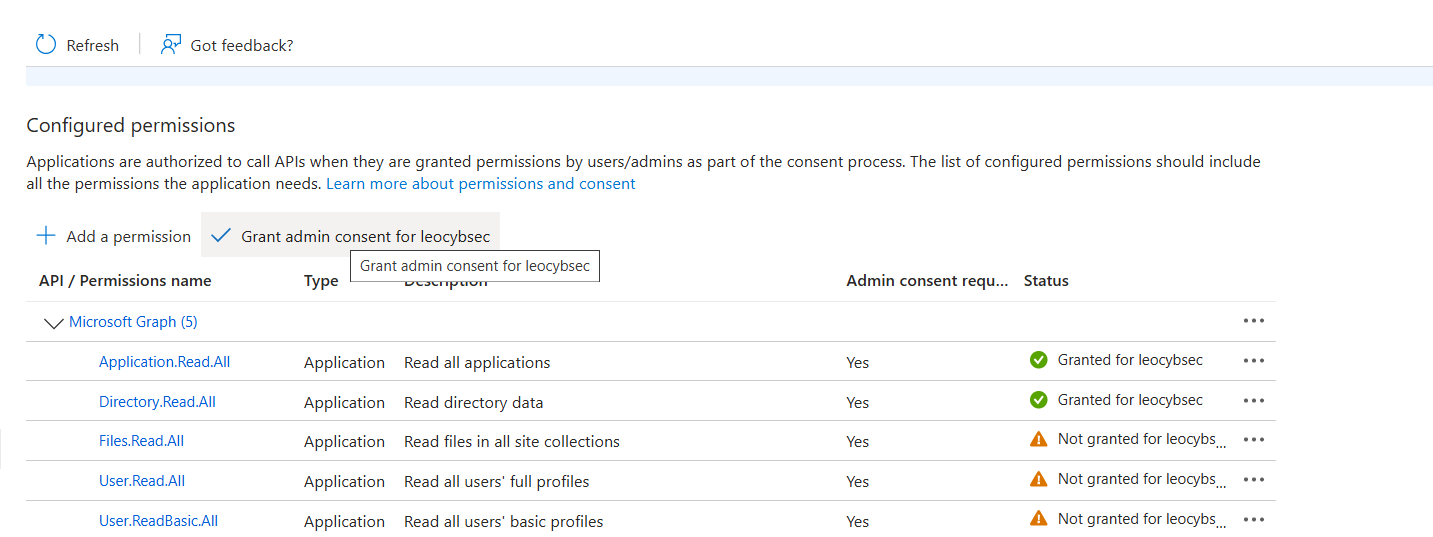
Click the Grant admin consent button.
Confirm your action if prompted.
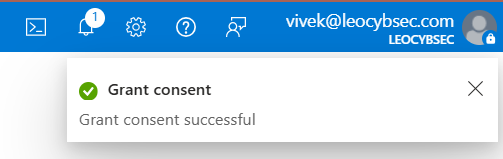
A notification should appear in the top-right corner confirming that admin consent was granted.
At this point, your Azure app registration is complete.
What to Do:
Access the HOPLONai Onboarding Screen:
Return to your HOPLONai Platform where the Cloud Onboarding process is in progress.
Upload the JSON File:
Click on Upload Results.
Navigate to and select the leocybsecScannerKey.json file that was generated by the script.
Upload the file.
Complete the Onboarding:
Once the file uploads successfully, the onboarding process will complete for both Azure and Office 365.
Need Assistance?
If you encounter any issues or have any questions during the onboarding process, please contact the support staff.
Provide details about your problem so that support can help you resolve the issue promptly.
